By Gabrielle Joffie
You never know how much those not-so-small details matter until they are missing. While selecting bridesmaid dresses and finding the perfect shoes to match my dress, I completely forgot to create our Save the Dates. Several of my friends and family members began asking me about the wedding details, and then it dawned on me: guests need formal Save the Dates.
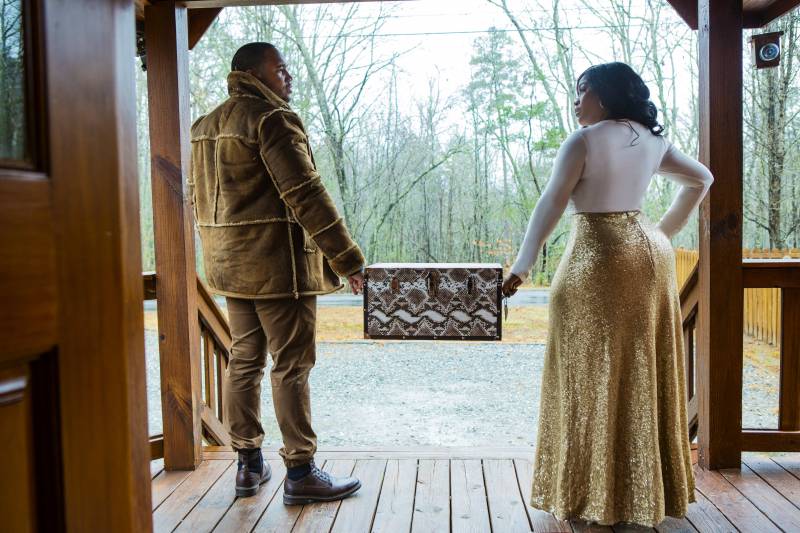
As creatives, it was very difficult for my husband-to-be and me to find a “Save the Date” template that we both liked. So I decided to create it myself. We loved our engagement photos by Will Sterling, so we knew the base of our Save the Dates would include one of those beautiful images.
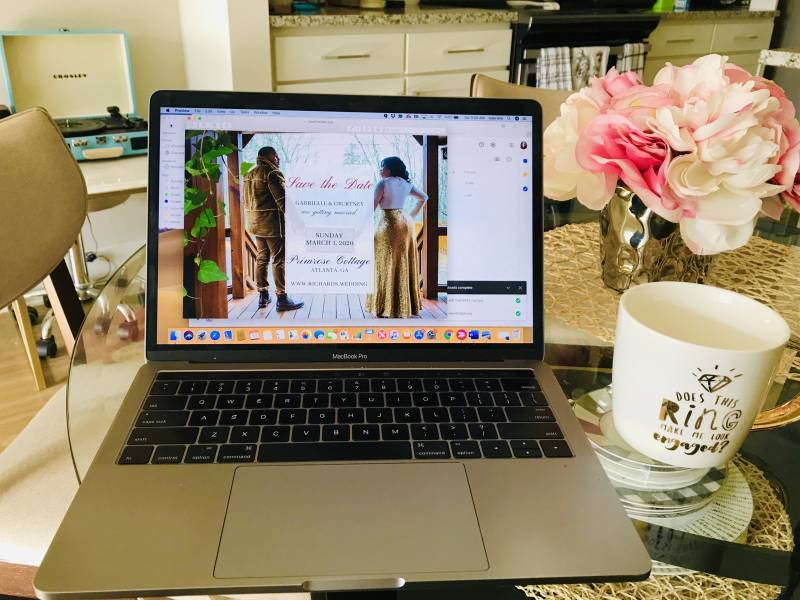
My first stop was Canva. If you do not own Adobe’s Creative Suite, then Canva is a great tool for creating design products. You can design everything from logos, business cards, posters and, of course, Save the Dates. Canva even has the option to print directly from their platform. When I was designing, I did not realize that I could upload my own fonts to Canva, so I opted for Adobe Illustrator instead.
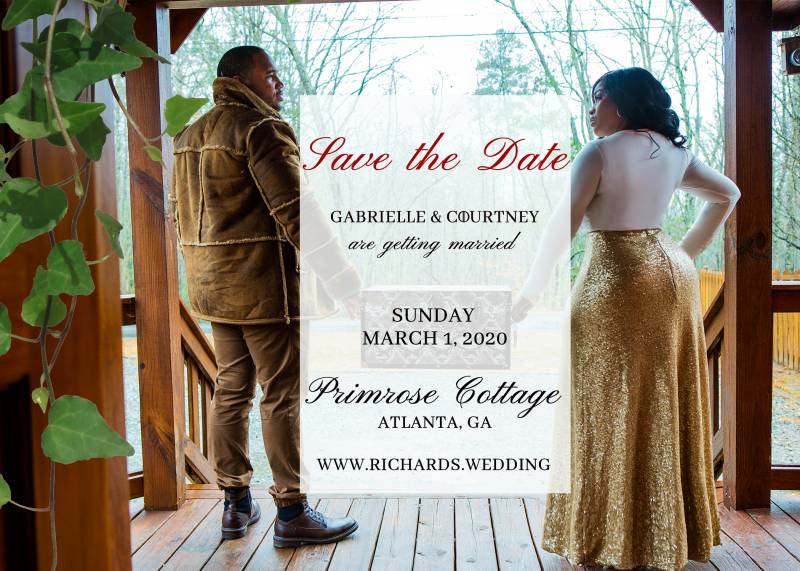
If you are creating your Save the Date from scratch, be sure to include these key elements:
Name of Couple
Date of Wedding
Name of Venue
City & State of Wedding
Wedding Website (If you have one.)
Note That a Formal Invitation Will Follow.
Once you have those components, be sure to design your Save the Dates with your wedding theme in mind. Luckily for us, we staged our engagement photos in line with our wedding aesthetic, so our photo worked out perfectly. I added a few vines to complete the design.
I’ve received a lot of Save the Dates over the years, but my favorite ones are always picture magnets. Shutterfly has great options for working with your own templates, even in magnet form. Once my design was complete, I uploaded it to Shutterfly and printed 125 copies. We are trying to keep our guest list capped at 100 but, let me tell you, this gets tricky! Assuming most of our guests will have a plus one, 125 magnets was safer for us.
Okay, you have the Save the Dates printed. Now what? While I was designing our Save the Dates, I was also circulating our Postable link via text message. Postable is a great way to collect mailing addresses in one digital folder. Once you have all of your addresses, then you can to upload them into a software that prints the labels out for you. We definitely did not have time to write everyone’s addresses by hand, so this was the most time-efficient option.
This whole process took about two weeks from start to finish. With Save the Dates out of the way, I now have time to visualize the actual invitations and may seek a professional to help with those.
Stay tuned for Gabrielle’s next chapter in her Road to Mrs.! How did you create your Save the Dates? Tell us in the comments below!